Looking from the dining area (lofted) through to the dining and lounge area. Earthwool® glasswool insulation in the walls, midfloor, and ceiling. This is before the Intello air-tightness lining was installed (mid April).
A visit on-site from Stephen Smith and Matt Wilson from S3 Architects. Looking down from upstairs into the lofted area. This gives some sense of scale to the large french doors that will open onto the main patio area.
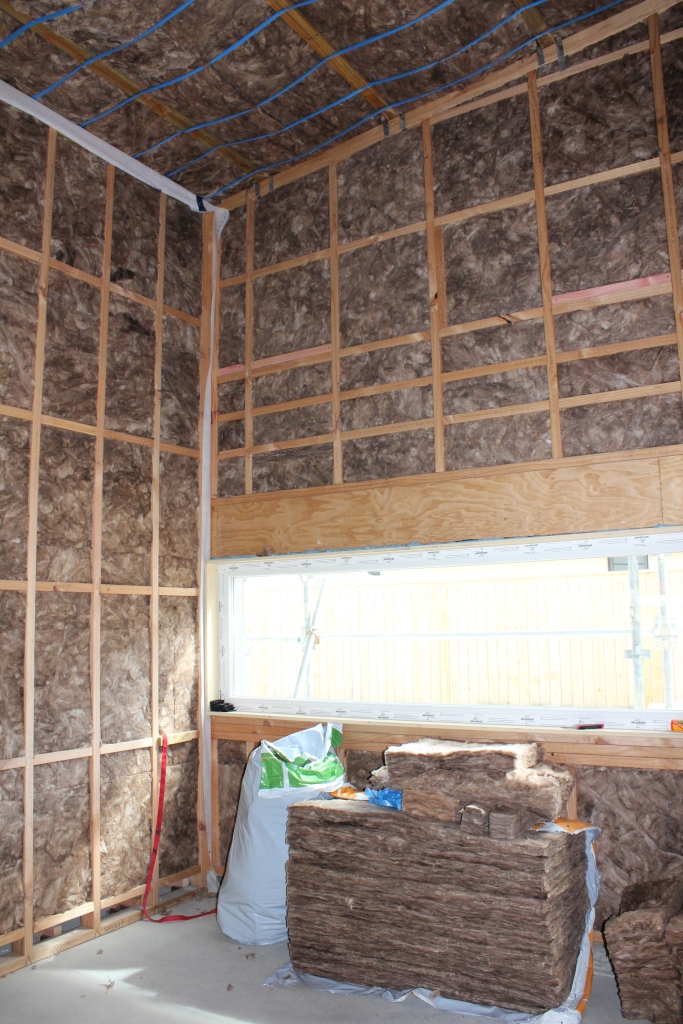
Earthwool glasswool insulation being installed in the kids room (centre of 3 bedrooms at Southern end of house).
Brandon, one of the two builders from Palladium Homes who have built the house. Looking at the original set of plans which have been on site for 8 months, through wind, rain and mud. See repro-online for more info!
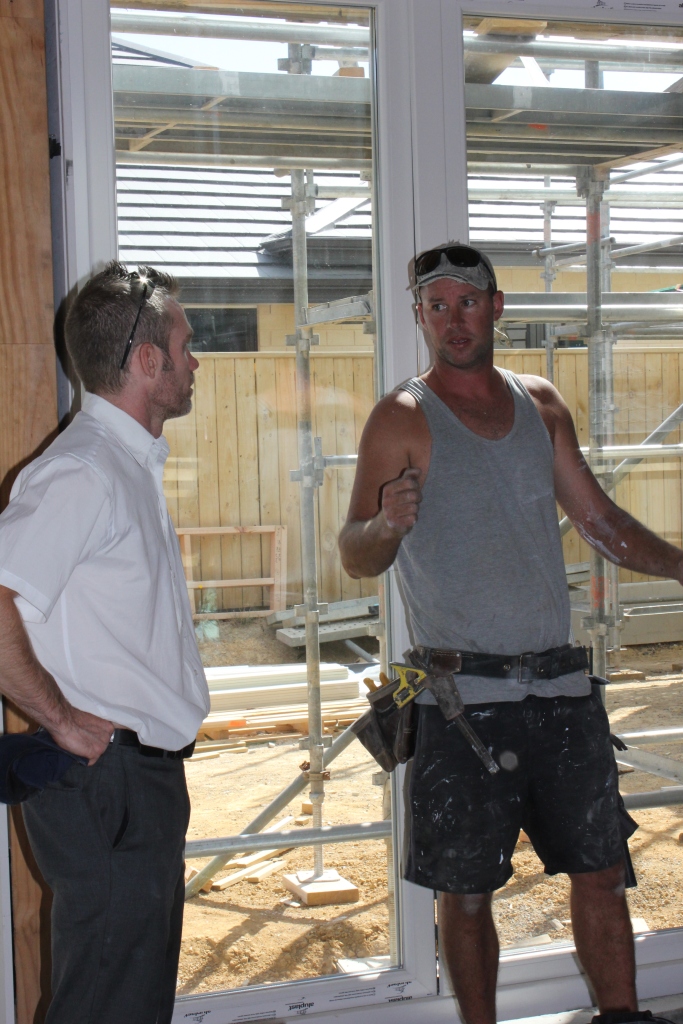
Frankie, the lead builder on site, talking to Murray Durbin. The Ideal House is owned by Murray & Lee Ann Durbin.
Frankie, the lead builder on site, talking to Brandon (the other builder) and Murray Durbin. The stairs from Top Flyte stairs are all wrapped up and protected in the forground. Top Flyte kindly lent us a temporary set of Aluminium stairs which were worth their weight in gold.
One of the owners, Lee Ann Durbin on the left, and Murray Durbin talking to the builder, Frankie on the right. We’re on the roof terrace which was clad in Viking Roofspec membrane, and will have a floating tile system on top.
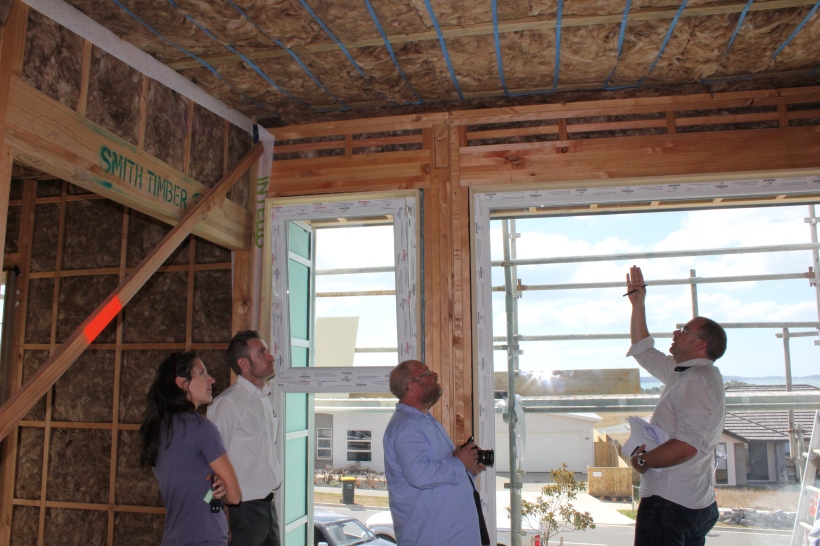
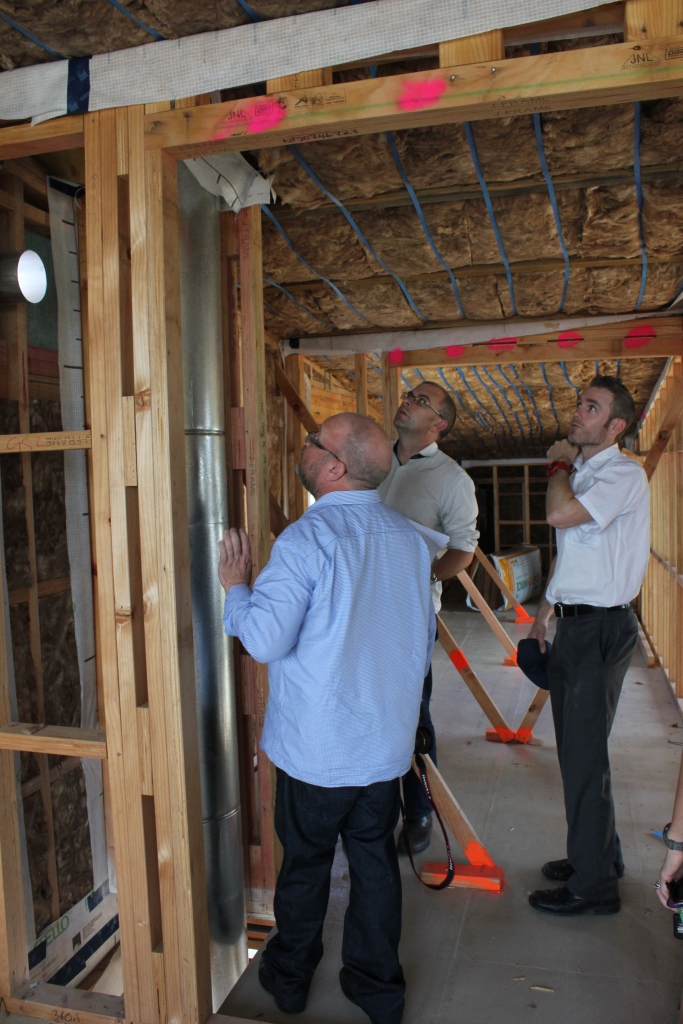
From left to right: Lee Ann Durbin, Murray Durbin, Stephen Smith (S3A) and Matt Wilson (S3A) looking at the Earthwool glasswool insulation strapped between the I-Beams in the ceiling in the master bedroom upstairs.
Reviewing how we’re going to seal the flue air-tight.
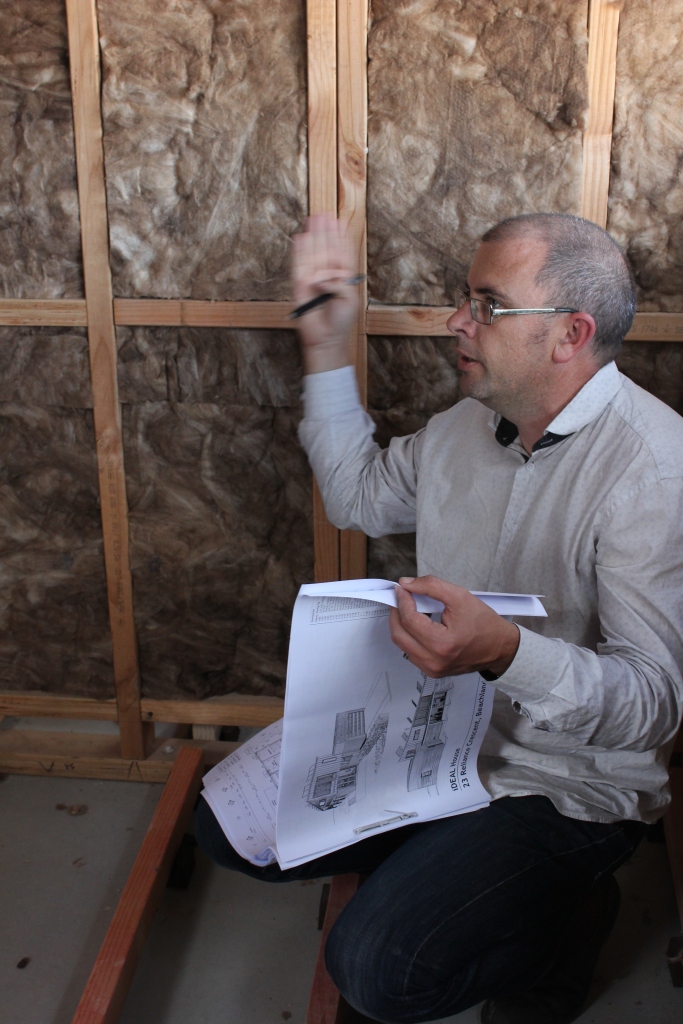
Matt Wilson from S3A discussing details of the plans.
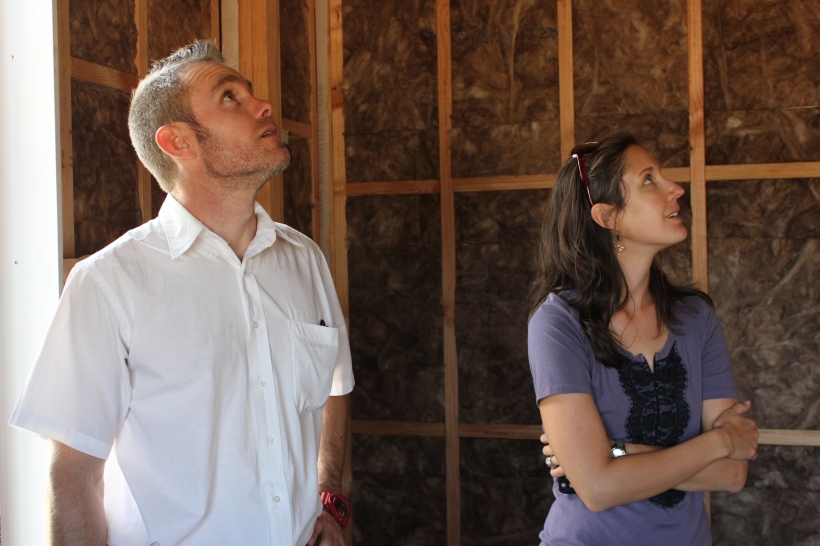
Owners, Murray & Lee Ann Durbin, taking in the massive ceiling spaces created by the form of the house.
South/West corner of the home, and Annabelle’s bedroom. The Southern wall is 140mm framing (with 90mm R2.8 and 50mm R1.4 Earthwool glasswool insulation), which will have a second layer of R1.4 insulation installed once the Intello membrane from ProClima is installed. A total of R5.6 of insulation, which is actually more than originally simulated in the PHPP software for Passive House compliance.
Wally’s handywork from The Fireplace Technician. He’s installing specially fabricated fittings to seal the fire/flue air-tight.
Wally’s handywork from The Fireplace Technician. He’s installing specially fabricated fittings to seal the fire/flue air-tight. Wally has gone above and beyond to get this working for us. Real old-school tradesman!
Murray’s handywork, insulating under the stairs before being lined (which should be happening tomorrow). Once lined, Mike from AWS/Tradepartners will be able to mount the switch-boards and start connecting the power. We’ve gone with two-phase power from the street, in the event that we run the F&P stove AND the JuicePoint car charger (plus a few other things) all at once.
Palladium Homes installing the bamboo stairs from Top Flyte. Took about 6 guys to lift these into place. They are much bigger than the photo shows!
The team from Apex Ceilings installing the plasterboard and James Hardie fibre cement linings.
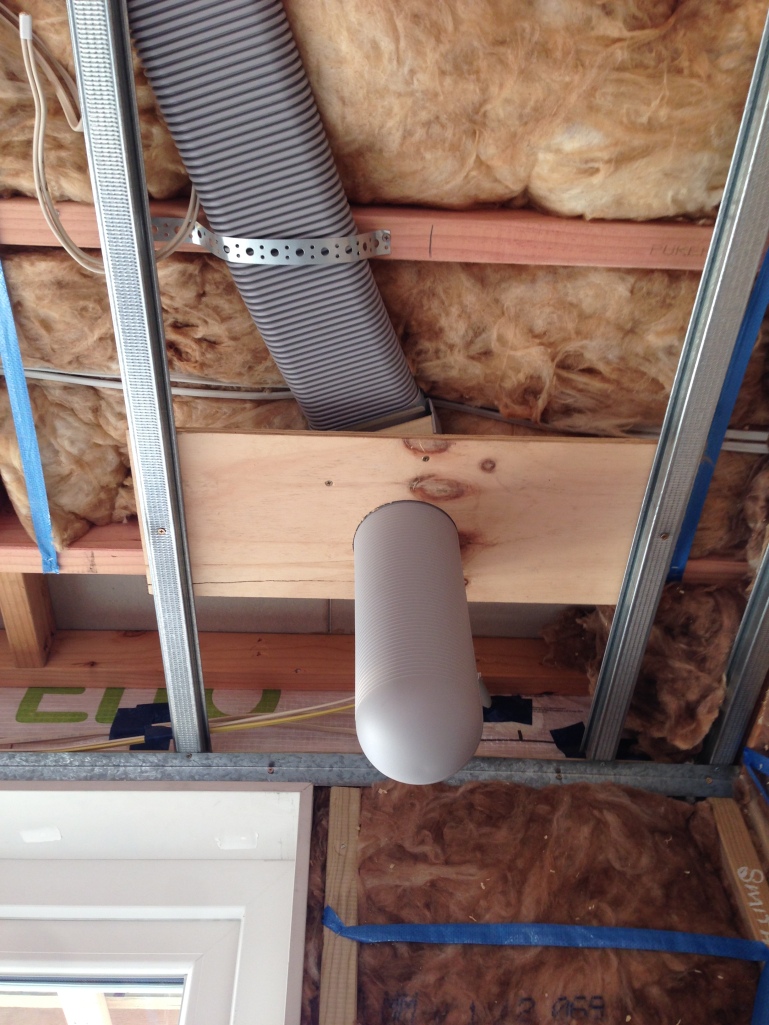
A photo of the hard-ducting for the Zhender ventilation system. Supplied by FanTech and installed by Brad from Efficient Air. These boots are in place to allow the plasterboard fixers to install around them, and they are cut off before the grills are installed. They also stop construction dust getting into the system during the building process. The hard ducting has a smooth liner to stop dust accumulating, and is also anti-static. It can bend in both directions, and fits within standard wall framing. You can see how this all fits under the ‘false’ ceiling created by the steel Rondo battens.
A detail showing how we’ve sealed around the wire which has penetrated through the Intello air-tightness membrane from pro clima. The membrane helps us acheive our 0.6 air changes per hour (at 50 pascals) required for the Passive House certification.
The downstairs lounge area, looking at placement for a TV. Note central vac plumbing (white pipe), electrical and data cabling. James Hardie Villaboard on the back of the wall, as this is the entrance to the home.
Upstairs plant room. We added an extract air vent in here, after we relocated the two Inverters from Power Technology. The inverters are hooked up to the 8.4kW Photovoltaic system, and are changing DC to AC power. They can heat up to 85 degrees celcius, and are situated with clear space around them. In winter, we can re-circulate the heat through the home (through the Zhender ventilation system pictured in the box) and when the home is too warm, it will automatically by-pass the heat exchanger and dump the excess heat outside. The ventilation system will run on about 75 Watts, and will cost around $50 a year to run (except as we’re positive energy – it will be free!). The ventilation system will run at about 60% capacity, and will have “boost” buttons in the kitchen and bathrooms which we can push when we’re showering or cooking which will shift the unit up to about 80%. At 60%, we’re right on the threshold of this smaller unit, and luckily didn’t need to move up to it’s larger brother which would have been more expensive.
Fresh air coming into the home for the ventilation system, which will be hooked up to the main unit when the other trades are finished.
All the cables installed and ready to connect up to one of the two inverters.
Upstairs, looking from the walk-in wardrobe, through the office into the plant room.
The upstairs master bedroom getting lined.
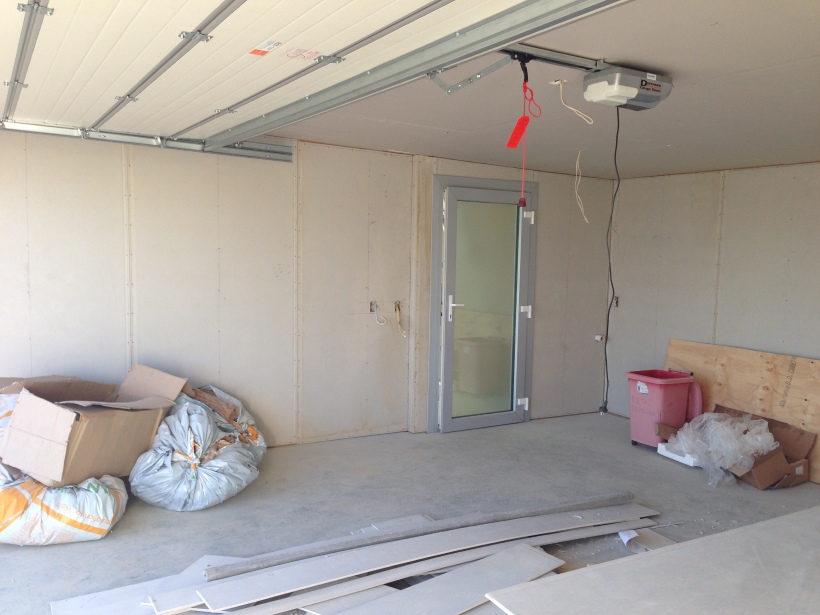
Our insulated “Defender” garage door.
Our insulated “Defender” garage door, and looking at the “exterior” Aluplast Series 8000 door from Warm Windows, connecting the garage to the main house.
The other corner of the garage, looking at the door to the rear of the section.
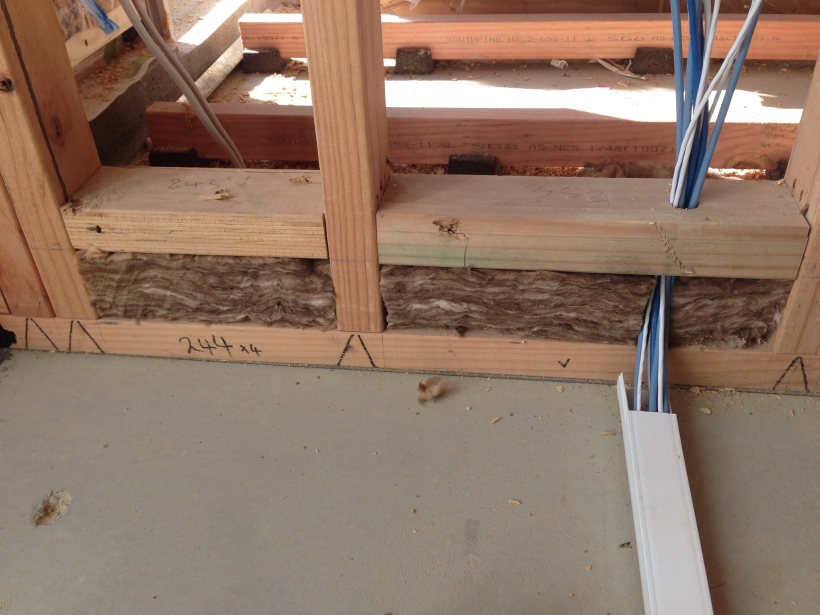
Insulating the bottom sections of the internal walls on the ground floor, where the bottom plate touches the concrete slab with R2.8 Earthwool glasswool. As we’re installing a batten & cradle falso floor (for insulation, ergonomics and acoustics) electrical cabling and plumbing can be run through this space. This allows savings on materials as we can do shorter and more direct runs.
The spaghetti of the Zhender ventilation system branching out in the ceiling of the upstairs office to the rest of the home.
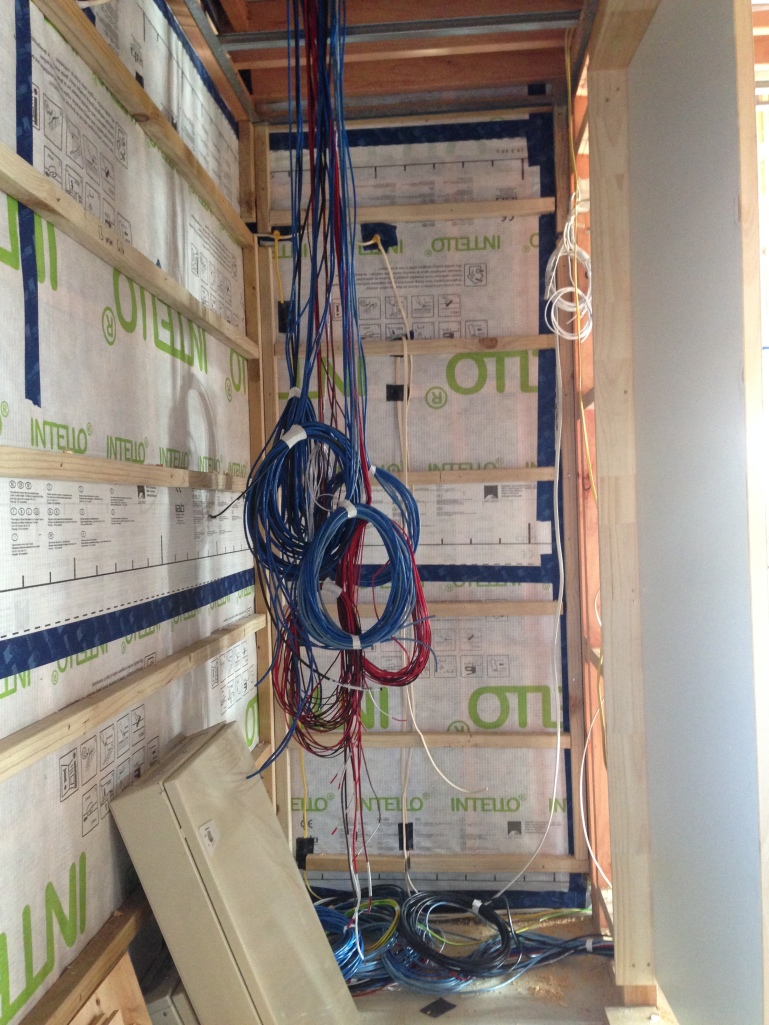
The large cupboard downstairs beside the kids area, which has become the home or hub for all the smart-wiring for the house.
Installers from Apex Ceilings, installing the Earthwool glasswool insulation. This is the second layer of R1.4, which is going over the Intello membrane. Behind the membrane is a further R2.8
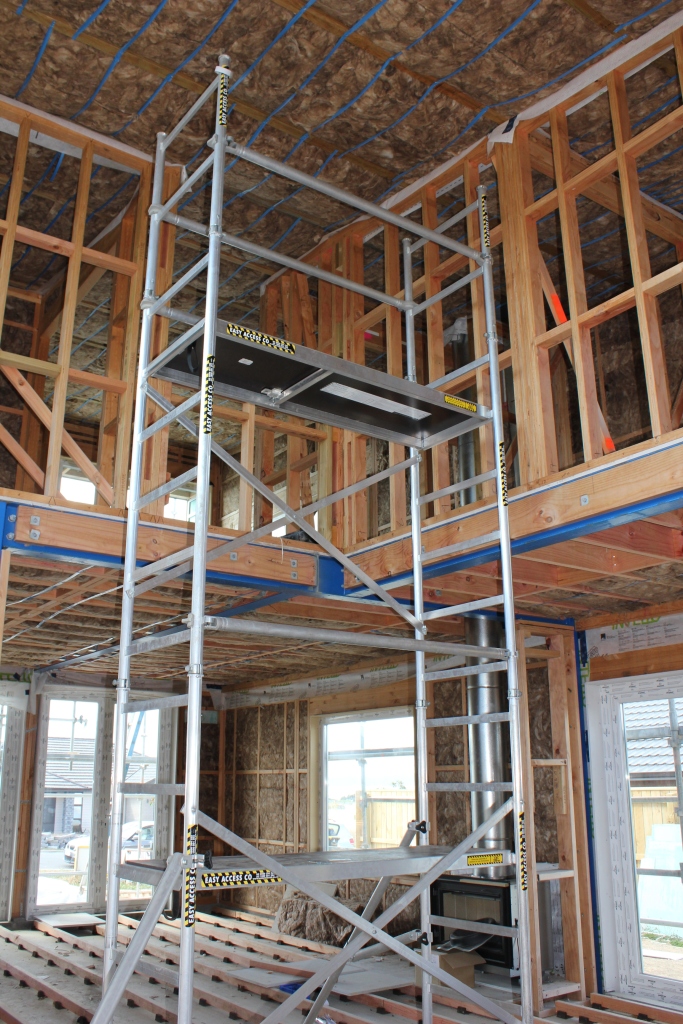
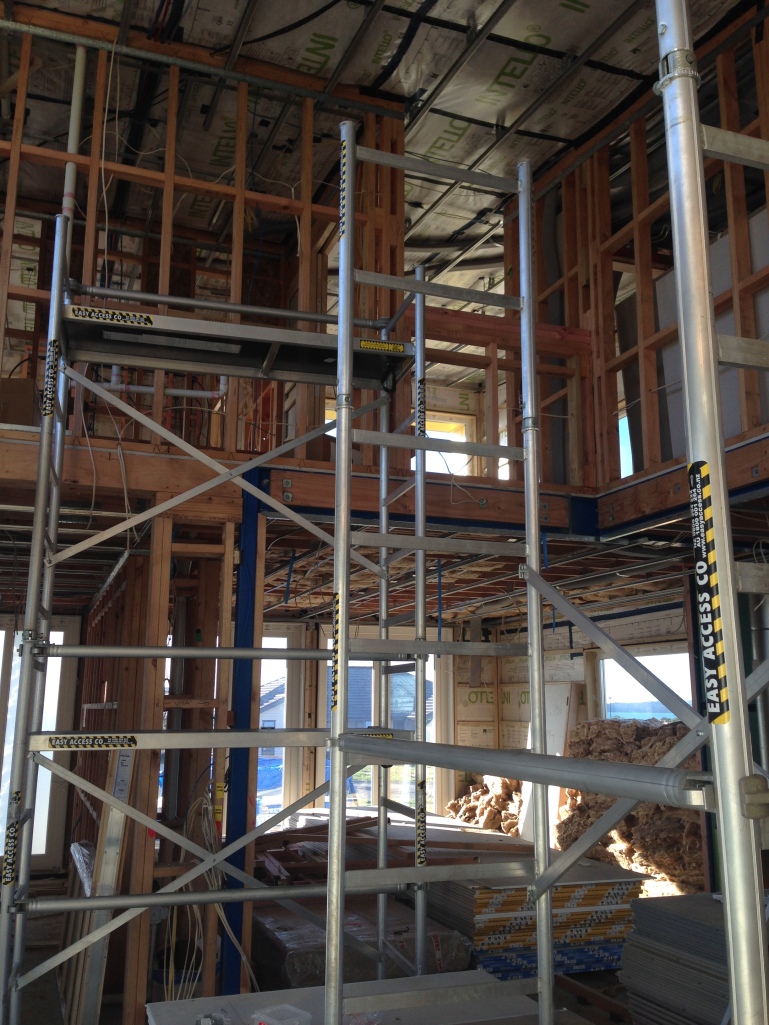
The lofted area just before lining, with all our access scaffolding from Easy Access.
The lofted area just before lining, with all our access scaffolding from Easy Access. A clear view of the Intello membrane from proclima installed over the earthwool glasswool, and with the rondo false ceiling system installed, ready for the plasterboard to be lined.
Electical cabling running through ducting which will sit within the false batten & cradle floor on the concrete slab.
A selection of our light fittings frm Philips, yeah! We’re going LED throughout the home. We’ll detail each of the fittings we’ve chosen and upload data sheets on these in due course.
Most of our light fittings frm Philips, yeah! Sitting on top of the last of the 2.8 Earthwool glasswool (for the false floor) and our BOSCH integrated dishwasher sitting waiting for the kitchen to be installed in about a month.
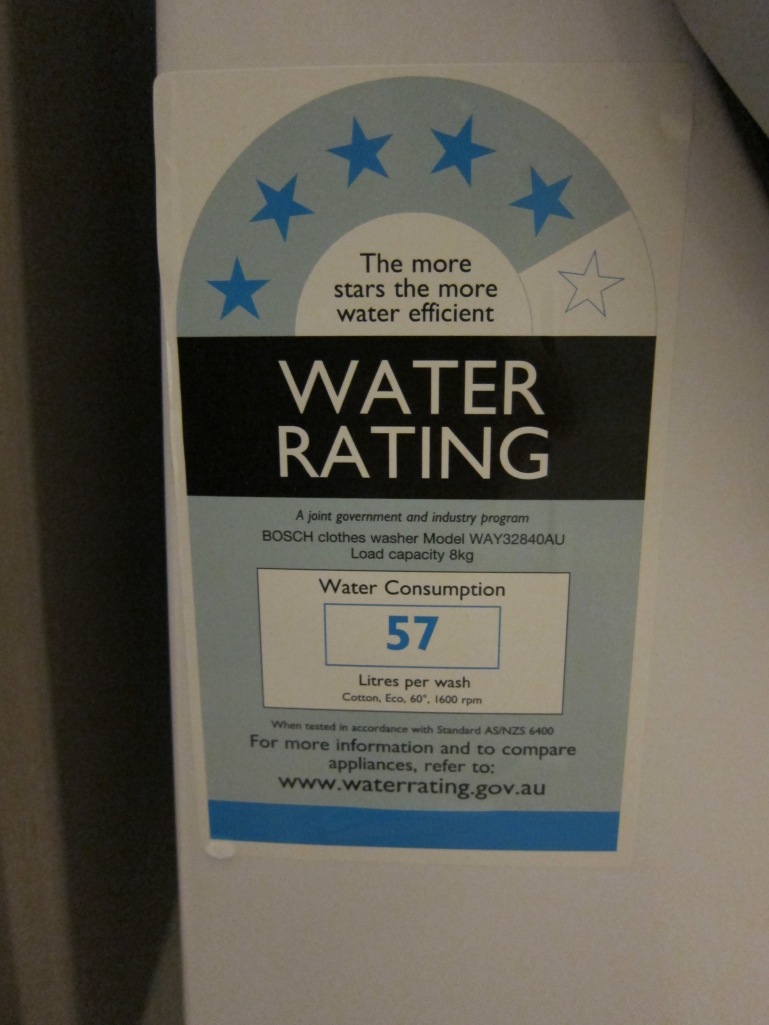
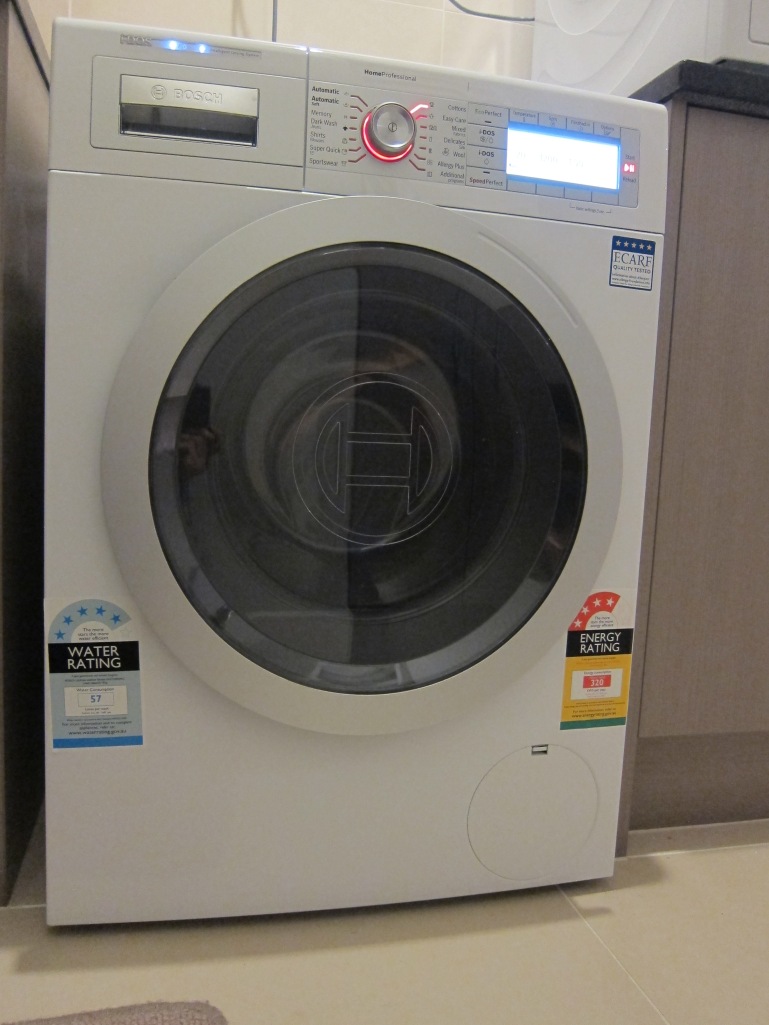
We’ve taken early delivery of our new BOSCH appliances today, and given then a trial run. The washing machine was chosen for it’s 5/6 star water rating as we’re on water-tanks.
We’ve taken early delivery of our new BOSCH appliances today, and given then a trial run. The washing machine was chosen for it’s 5/6 star water rating as we’re on water-tanks
We’ve taken early delivery of our new BOSCH appliances today, and given then a trial run. The heat-pump condenser dryer was chosen for it’s 6/6 star energy rating as we’re producing our own electricity off our PV panels.
We’ve taken early delivery of our new BOSCH appliances today, and given then a trial run. The heat-pump condenser dryer was chosen for it’s 6/6 star energy rating as we’re producing our own electricity off our PV panels. These will be mounted one on top of each other (on a stacking kit) in the laundry of the Ideal House.
Finally a photo showing the lined kitchen, looking through to the scullery. The lofted area above, with an extract-air vent ready to go in for the Zhender system.
A view of the lofted area looking from the other direction. Top left corner shows the open space up into the master bedroom, which we need to order some more Hume Doors, which will be hung by Doorways.
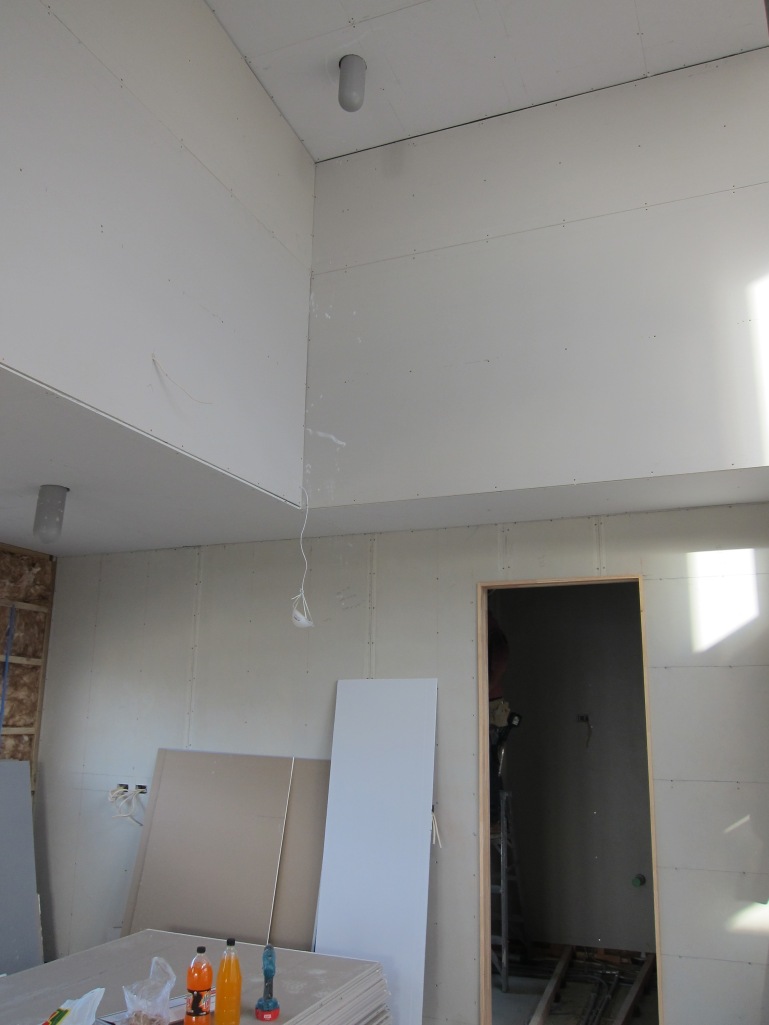
The kids area (off the 3 bedrooms and bathroom), now lined in 9mm James Hardie Villaboard. This is a very high room, the door on the left is 2.4 metres (normal stud height).
Looking down the hall to the main entrance door. Lined both sides with 9mm James Hardie Villaboard.


















May 29, 2014 at 12:58 pm
Great initiative. Would be good to see a dashboard of the key indicators and the cost of ownership once you go live with you new house. Interesting to see so many cables though in todays wireless world!
December 28, 2014 at 9:02 pm
Does the Dryer that you have require a heat pump connection to work ?…I think this might be a dumb question….just curious as it mentions heat pump condensor so is it all in built. ???
January 7, 2015 at 11:30 am
The dryer uses an internal heat pump (same as our fridge and also hot water cylinder). It condenses the water into a tank, you empty every few loads.